Reading Time: 12 minutes
We were asked by RTL Nederland to make a companion game for their new game show on TV, BankGiro Miljonairs (the dutch version of Who Wants To Be A Millionaire?). This article will sum up the positive and negative aspects of using Unity while I have worked on this application.
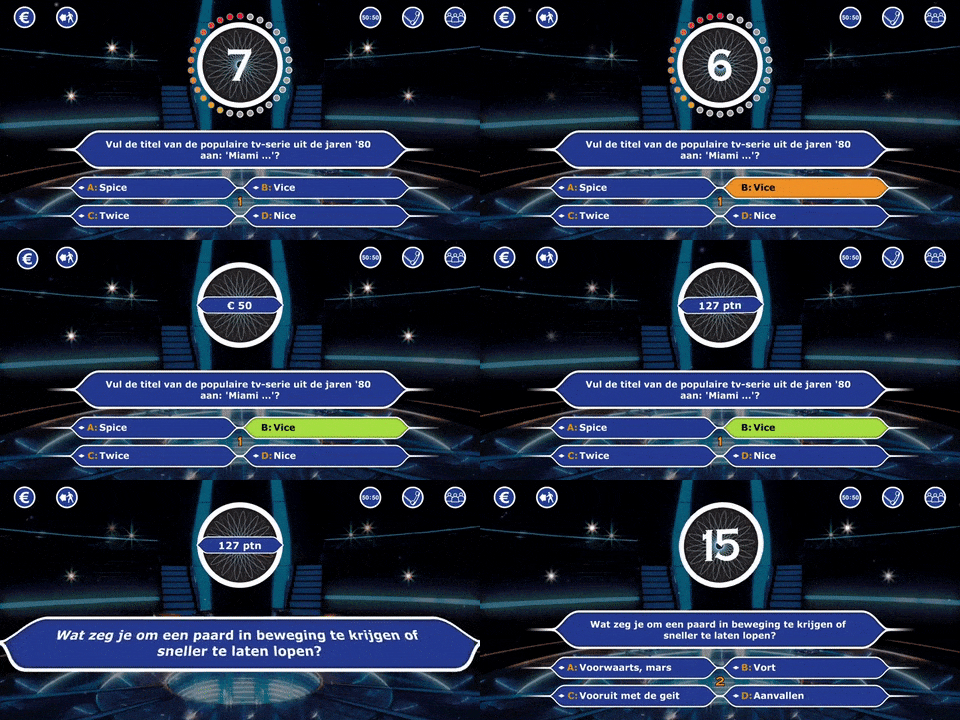
The game contains almost 2,000 questions, to which you have to answer within the given time. The quicker you are, the more points you get. As you get higher and higher on the prize ladder, it gets more difficult. Visuals of the game are very similar to the TV programme: it is essentially a 2D game rendered in 3D, to give the user a sense of depth (elements on the screen coming closer or going further away).
Getting to know the project
The game for the TV show has already been available on some markets, and RTL got the license for the source code from Sony, so the majority of the time was spent on customizing the game to a more modern look and extending with some minor features, such as sharing of the final score, or user handling.
When I opened the project in Unity, it asked if I want to migrate my project to my Unity version, because it was last edited in an earlier version. After confirming, and waiting about a minute, the app was ready to be compiled.
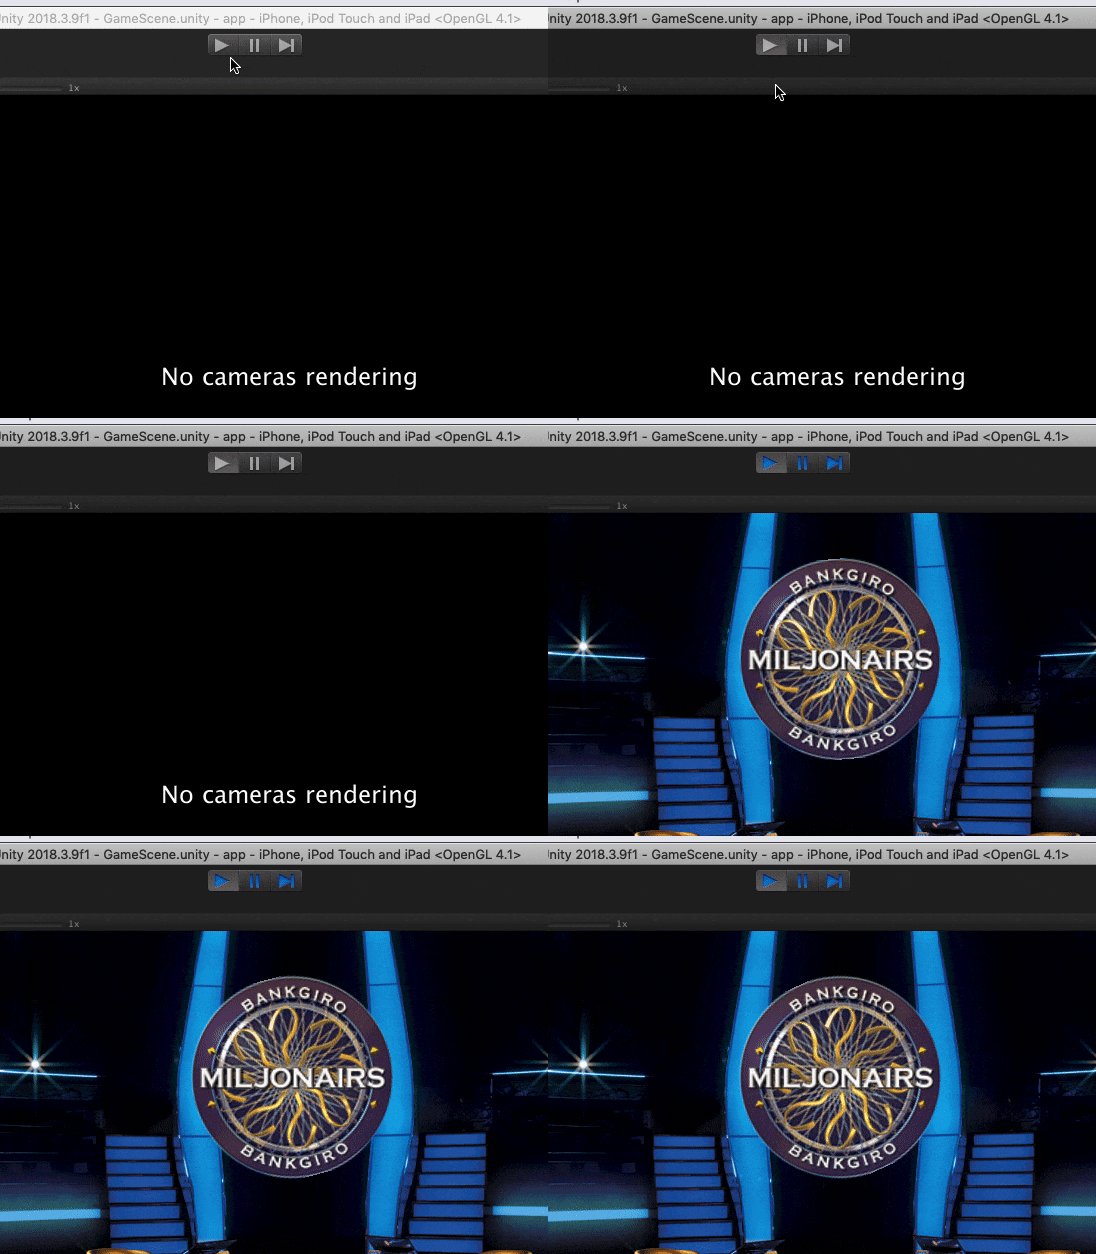
The first compilation of the app takes perhaps a minute or so, but incremental builds after that are a lot quicker. After I make my changes in the code, and I press on the big play button, within 5 seconds I can start playing the game, inside the editor! No deploying to any device needed, and I can resize the preview window to match the screen size of an iPhone 5S or an iPad Pro.
My first impressions were quite good, but how did Unity fare on the long term?
Setting up CI
The first hurdle came when we wanted to integrate the app into our Continuous Integration (and Delivery) tool, Buildozer. Buildozer does not support Unity projects (as of now), so as a first workaround, I just exported the Android and iOS project after each pull request, and commanded Buildozer to build from the directories containing the exported project.
This worked, but resulted in a lot of overhead — in manual labor and also in diffs: I had to export the iOS and Android project manually with each pull request, and the pull requests looked mostly like this:

unity blog egeniq
Also, a lot of these binary files change frequently and are quite large, so the overall size of the git repo was increasing at an alarming rate. Soon, it would take a coffee break to clone the repository for someone else (or the CI tool). So I had to find an alternative solution.
Since I have already achieved a working build with this workaround, I started investigating if we could export the projects automatically on the Buildozer nodes after checkout. It is possible to write scripts, which you then can invoke via your command line to export the project. But it has one main problem: it requires the Unity executable for the invocation, and the Buildozer Android builders run on Linux, which is not supported by Unity. So I started looking into other options.
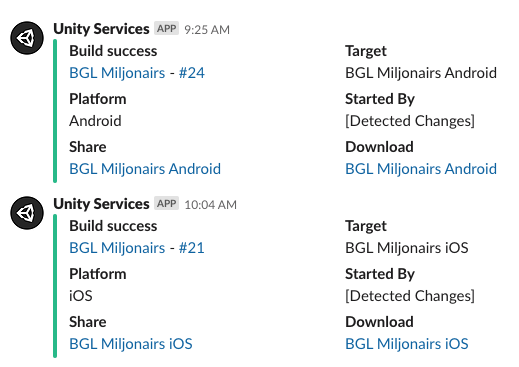
Then I found Unity Cloud Build. It is exactly what I was looking for, it can build and distribute (via a share link) Android and iOS apps built from a repository. The pricing pages are very misleading, they state it requires Unity Teams Advanced, and when you follow the link, it says with large letters that you get Teams Advanced free with Unity Pro. From our experience, that’s not true, because although we had a Pro account, we could not add any repositories to Cloud Build until we purchased Team Advanced separately (which at $9 a month is at a quite fair price, but still).
I added our project to Unity Cloud Build, and it worked within an hour for both platforms. It has its quirks, like long build times and missing features (I can’t remove my old iOS signing credentials, only add extra ones…), but it does its job.
unity blog egeniq
How Unity handles multiplatform
Most newcomers to Unity are curious about how the platform handles iOS and Android at the same time. The two differ a lot in their API’s and app lifecycle states, and I can say that Unity abstracts these quite well.
By default, you write your code in C#. You can also use async-await, which you will probably use a lot, such as for network requests, or just waiting for an animation to end. For common tasks, Unity has convenience methods.
For opening a URL in the browser, you just call: Application.OpenURL(url); Or to play a fullscreen video: Handheld.PlayFullScreenMovie(“intro.mp4”, Color.black, FullScreenMovieControlMode.CancelOnInput);. If you need different behavior on platforms, you can use the platform directives:
#if UNITY_ANDROID
data.Add(“platform”, “android”);
#elif UNITY_IOS
data.Add(“platform”, “ios”);
#endif
But what if you need to interact with the platform API’s, and there’s no Unity convenience wrapper for them? Luckily, you can also interop between Unity and the platform-dependent Java or Objective-C code by calling methods on them via C#.
When you import a plugin via a package, it usually consists of the Android jar file the iOS framework, and the wrapper for both in C# which calls the underlying Android or iOS function depending on the current platform.
Packages and build scripts
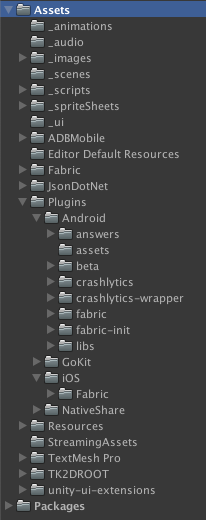
About the packages, I have a mixed feeling. They are not really packages, but a collection of directories and files zipped together. When you open the package in Unity, it just asks if you want all of them imported in your project. So now you have a bunch of extra source and asset files cluttering your project.
Also, Unity has a lot of magic directories. If you put a file in Assets/Plugins/Android, it will only be included in the Android build (same for iOS). If you have a directory called Editor (anywhere in your project), you can create a special C# class with some annotations on it, and voilá, now you have an extra menu item in the top toolbar of Unity!
I have to admit, sometimes this comes handy. Like when the Fabric Unity plugin crashes on startup, you can just remove one of the plugin resource files to make it work again. It is one of those with great power comes great responsibility moments.
unity blog egeniq
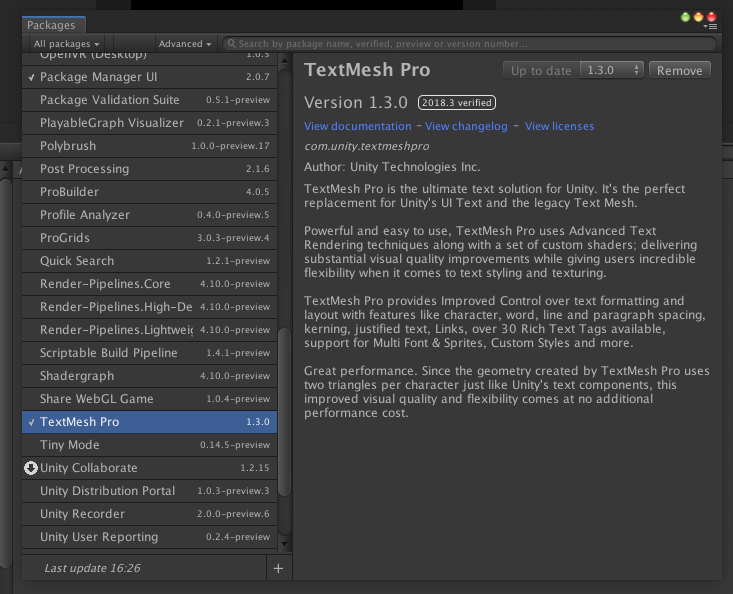
Unity knows about this too, and they are pushing their package manager more and more. It helps in finding which packages the files belong to, listing the installed versions of the packages, and providing an ability to uninstall all files belonging to a plugin, or updating an existing version. This is the way to go in my opinion, but most of the packages are not distributed through this manager. Unity should be pushing this more, and creators publicizing via here or the asset store.
unity blog egeniq
There are also these special classes called build scripts. They are regular C# classes with some special annotations, which makes Unity call the methods on them after you build the app, when you can move around and edit files in the build product. They are essential to large projects because sooner or later you will need to make edits to a plist or move a file to a different path.
My first task with the game was is to get it working on Android (it was iOS only before). When you ran it on Android, it would crash at the first database operation, because it could not find libsqlite3.
The solution appeared to be including the precompiled libsqlite3.so, and by placing it into one of the magic directories which adds it to the Android build only. These workarounds with magic directories and build scripts used to be regular, when including libraries in the project.
Libraries? Unity
I already mentioned that I had to apply a workaround to get the Fabric plugin working in Unity (aside from that, it works great!).
Sadly, it seems to be a pattern between libraries that they tend to drop Unity support (or at least, don’t update they package anymore). For example, Adobe Mobile Analytics has not updated their Unity package since October 2016. You need to apply a few workarounds (including 2 post-build scripts) to get it working properly. I listed those in this gist, to help people attempting to do the same. If you think you can avoid the plugins, you will be mistaken. For example, Unity supports serializing JSON from text into objects. Sadly, this is just a very basic implementation, since it does not support mapping aliases, it can only match the JSON keys to the exact same variable names.
So when you have a JSON key with a dash (-) in it or if it starts with a number, you have to switch to a library to work around this limitation (I highly recommend JsonDotNet). Or if you just want to share a text on a button click, you are better off with a plugin, because writing the same code yourself could take days.
Now, let’s get on with the visuals. The game elements are built together with the 2D Toolkit. When I was working on the project, the last version was already 2 years old and had problems with the stable version of Unity. Luckily it did not break the app, it only made editing files harder, and I see that there is a new release available now, which promises compatibility with newer Unity versions (but it is still one major version behind).
Using 2D Toolkit for displaying elements
As you may already know, Unity uses OpenGL to draw the game onto your screen. To get an image or text onto the screen, you can’t just drag-and-drop them onto a screen (you can with Panels, but those are for UI use only, not recommended for game use).
With the 2D toolkit, to get your images onto the screen, you first have to compile them into a sprite collection. You select all the images you want to include, and then compile them together. In the background, this creates a special PNG file called an atlas, which contains all the images cramped together.

unity blog egeniq
Now if you create a sprite, you can look up an image from the atlas. In the game, this atlas will be loaded as an OpenGL texture, and the individual sprites will be cut from them when required.
When you instantiate these sprites with the 2D Toolkit, they all have a GameObject attached. GameObject is the object I was interacting with the most during the game. Using its transform property I can modify its position, rotation or scale or even colour. When you delete the GameObject, it is also removed from the screen.
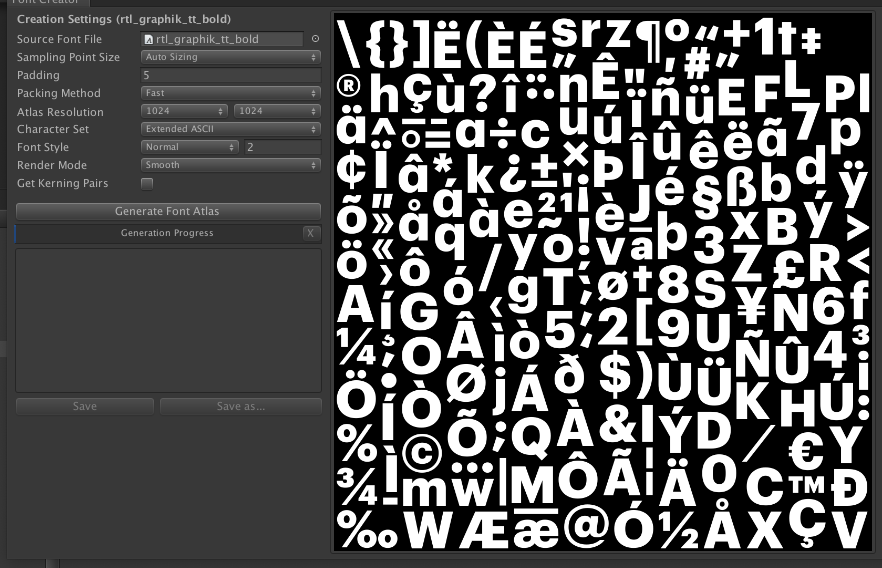
If you want to display text, well that’s also not that easy as it may seem. You have to compile your font into a so-called Signed Distance Field format, which converts your font to an atlas of images containing all the letters, numbers and special characters in your font. So the characters are also mapped back from a texture. Since your font is not in a vector format anymore, the quality loss will be visible if you scale the font size up too much. So you have to save it with larger individual image sizes, but that results in larger app sizes again.
unity blog egeniq
Building the application
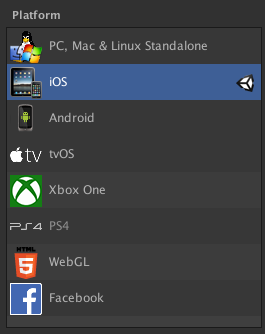
Finally, if you have everything working in the editor, it is time to test and deploy to the physical devices your app was designed to run on. Unity supports a broad selection of platforms, which makes it very appealing if you want to write a game once, and distribute it to as many people as possible.
unity blog egeniq
For Android, you can build a .apk with two clicks, or export to a Gradle project, which you can open in Android Studio. The iOS option creates an Xcode project, where you can then archive the product (note that you can also build for simulators, but first you need to change your Target SDK setting to Simulator).
Once built, I noticed that the .apk and .ipa are quite large in size, this is because the 2D Toolkit atlas files are very large, and consume a lot of space. This could be improved in the future by spending time in optimizing the atlas, or the texture compression settings.
Once the app was available to the public, we noticed that Unity has really low crash rates (1 in around 10.000 sessions, which is really good for a first version). I am very happy about this since no one wants to debug issues happening in interpreted C# code with minimal stack traces?

unity blog egeniq
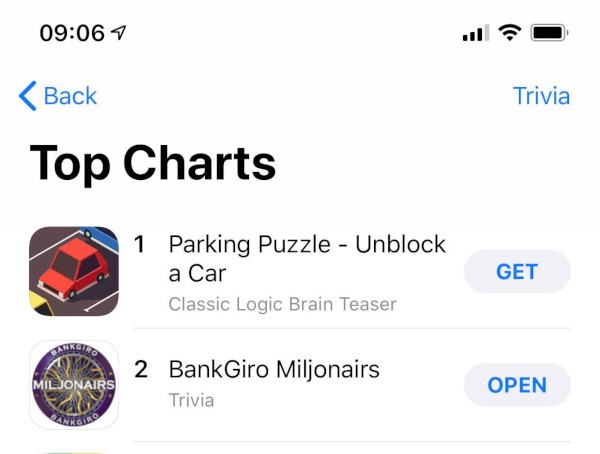
On iOS, we got so many downloads the second day that it jumped to the 2nd place within its category on the second day after the release!
unity blog egeniq
Summary
To me, working with Unity is fun and frustrating at the same time. It is tedious in the beginning, when you add a new plugin, or want to get to know a feature / tool of Unity better, because documentation and “StackOverflow support” is not as good as it would be with Android or iOS. But once you have it working, it does its job surprisingly well.
In the end, the Editor, iOS, and Android rendered exactly the same way, with good speed and quality too, as they should be.
It is interesting to see how far mobile cross-platform has come, and Unity is for sure is something to be considered for a game. Although I cannot determine how it fares for true 3D, computing- and rendering intensive games, the tooling and features did not left me unsatisfied.
If you reside in the Netherlands, feel free to try the game out on Android.

